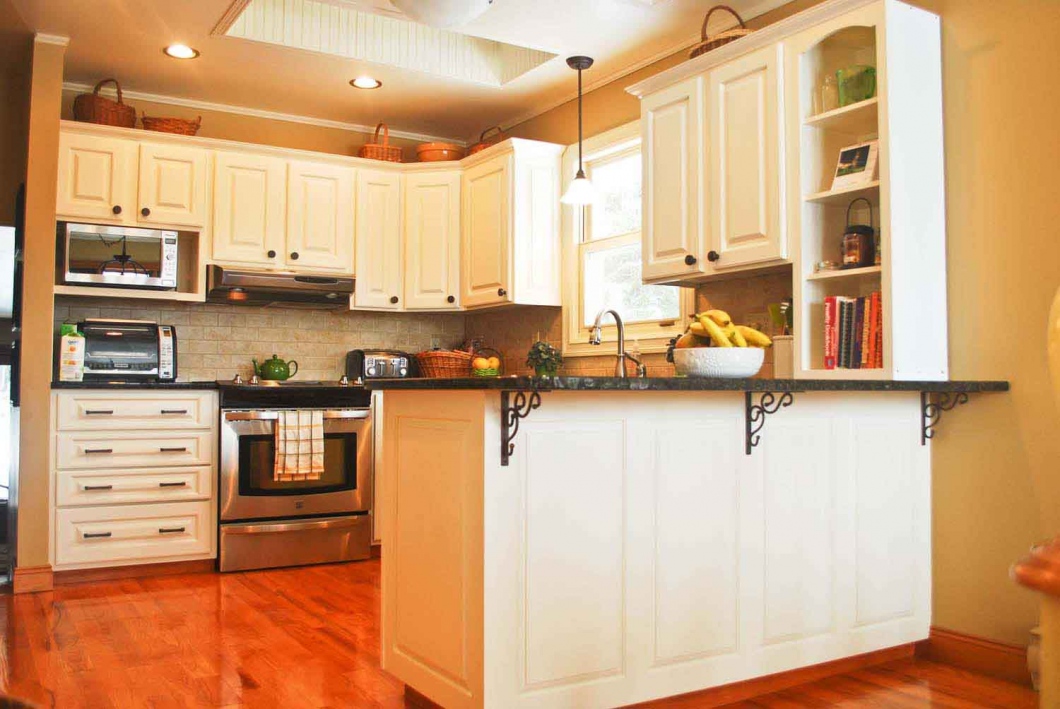
There are steps we could do to apply paint to our older cabinetry. Although this may seem like a simple task, cabinet painting can be quite overwhelming, so we need to break it into more manageable tasks. We could remove the cabinet doors, panels, trims and other removable elements and put numbers on them. We should also remove all hardware attached to the cabinet. This should be a good opportunity to paint, clean and even replace them. Cabinet hardware may include handles and exterior screws. We could clean the trim, drawer fronts and cabinet doors thoroughly. We may use mineral spirits, denatured alcohol or TSP. However, we should know that wood grain will rise when exposed to humidity, so we should let our cabinet dry thoroughly before proceeding with the next step.
We should also thoroughly sand all the painted surface, fronts, edges, recessed areas and back. We could use orbital sander to expedite the sanding process on flatter surface. For crevices and edges, it is advisable to use foam sanding pads. To ensure proper adhesion, we could use 120 grit sandpaper for oak or 80 grit for birch or maple. It is important to wear respirator or dust mask while sanding. Sanding dust can be removed manually with microfiber cloth or air compressor.
Wood filler can be used to fill and other imperfections. Filler should be thoroughly dry before we proceed with the next step. After it dries, we need to sand the filled surface until perfectly smooth. The wood filler should feel smooth when we swipe the whole surface with our hand.
Next we could apply a coat of bonding primer sealer and to ensure proper adhesion, the first coat is usually the thinnest. A very thin primer sealer could be water based with mineral spirit. After applying the thin primer-sealer, we should let the surface to dry thoroughly. It should be noted that the surface should be positioned horizontally when we apply the thin primer-sealer so it won’t get thicker at lower areas. We could repeat this step once or twice after the earlier coat dries completely. Usually, a proper primer-sealer layer can be achieved with three coats.
Then, we could apply the first topcoat and it should be the thickest. After it dries completely, we should hand-sand with 320-grit paper until smooth. The final, second topcoat should be lighter than the first.
We may repeat applying more topcoat until proper build is achieved. More focused should be on visible areas of the cabinet, while the back of the cabinet could get only a couple of primer-sealer coat and just one heavy topcoat. After we finish applying the topcoat, we should let all the surfaces to cure for at least 48 hours. In some cases, it takes a full month for the cabinet to fully cure and it may still be susceptible to fingerprints. We may need to wear latex gloves in the first few weeks when handling the cabinet.