
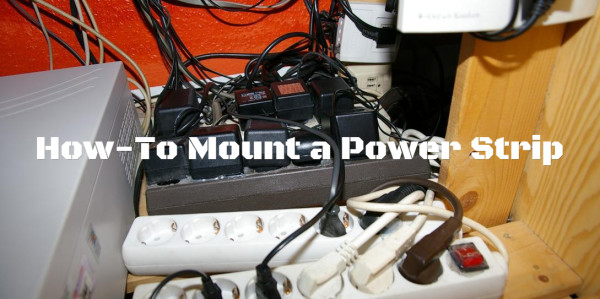
If you’ve grown tired of looking at that ugly jumbled mess of power cables connected to the power strip beneath your desk, it is time to mount your power strip. Power strip mounting is not as arduous as it seems so don’t put this project off any longer.
Mounting your power strip will keep those cables off of the floor so that you don’t trip on them. It will make your office much more organized and give you a positive feeling about your working environment. You’ll be able to quickly and easily plug electronics in without crouching down onto the ground. You’ll even be able to plug in devices using merely a single hand.
You can mount your power strip to the wall, onto the bottom of your desk or any other flat surface. Most people choose a wall because they’d prefer that their knees not bump into the cords or the power strip itself while they sit at the desk. So look around your data center or office and choose a convenient location for your power strip that is close to the devices that you’ll be plugging into it.
Preparing To Mount
Pick up your power strip and you’ll likely see that it has two keyhole openings along the back for mounting purposes. The tricky part is knowing where to place the screws so that they line up perfectly with these keyholes. While you might be able to perfectly space out the screws so that they align with the keyholes, it can be difficult to align them at the same level either vertically or horizontally.
If you can’t align the screws on an even plane, the power strip will be crooked. A crooked power strip will likely annoy the heck out of you every time that you look at it. In terms of tools and parts, gather screws, a level and a screwdriver or power drill.
Create A Template
Begin by placing the power strip onto a copy machine. Copy the back of the unit for the perfect template. Then cut the template out so that you can mount the power strip with precision. Utilize your level with this template to mark the spots on the wall where you’ll place the screws.
Screw Into The Mounting Surface
Next, find a large pan head screw that will fit into the power strip’s keyhole slots. This is typically either a #6 or #8 screw. Don’t screw until you’ve checked the mounting surface’s depth. If you plan on mounting the power strip to the stud that is behind the drywall, use a 1 ¾ screw. It is not especially prudent to mount directly into drywall as it will eventually rip out of the wall.
Drive in the first screw a little short of the surface. Slide a power strip keyhole of the device into place and give it a light pull. If the pull takes it away from the wall in the slightest, you’ll know that the screw has an excessive gap. Tighten it until there is a bit of resistance to sliding into the slot. If the device requires that you use force to slide it into place or if it won’t slide on at all, loosen the screw with a ¼ turn. Do the same for the second screw.
After you’ve tightened the screws to the proper depth, connect the power bricks to the power strip to the screws on the wall. Take the extra step of adding an extra screw to the very end of the power strip to protect your power bricks. This will help stop the strip from sliding out of the keyhole slots and crashing onto the floor. You’ll be best served by using a drywall screw for the end of the power strip as it is quite long. The extra length will allow you to keep the shaft tight against the power strip.
Katrina answers all your racking How-To’s for Rack Solutions.