Portrait retouching is the process of improving portraits by modifying the different elements in it. This may include anything from fixing up lighting errors and getting rid of unnecessary blemishes on the skin to making the subject’s complexion fairer and removing stray hair. Such changes were not easy before the advancements in computer technology, but today the modern, digital means assist to manipulate the portraits easily.
Here are four tips for professional portrait retouching to give a new perspective to your photos.
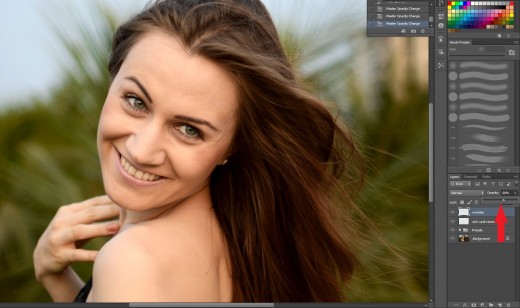
Mask Your Retouching
The fundamental rule that has to be kept in mind when doing portrait retouching is to mask your work so that the corrections made to the picture don’t instantly reveal that the portrait has been retouched. Clients that you work with, normally look for picture perfection. Sometimes, it is good to employ plenty of Photoshop wizardry to satisfy the requirements of the client. On the other hand, it would be occasionally vital to lighten out retouching by leaving on few of the original blemishes. A good suggestion would be to retouch the skin by making use of clone stamp as well as healing brush tools for cleaning the blemishes. Following this, a paint layer can be added by using a big brush to pain the skin as this softens the unnecessary shadows and details.

Get Rid of the Imperfections
It is just not possible to avoid one or the other kind of imperfection irrespective of how hard you try. In such cases, you have to delete or mask the areas of imperfections. There are many digital retouching software programs that let you delete the imperfections. These flaws can be anything ranging from dust specks to deleting unwanted people from view so that the picture is perfect. This is particularly useful when you will be showing the image to several people.
Add Tones of Black
Your picture will appear better with few black tones anywhere in it. The image will look deeper and richer as this will provide it more depth. Select a part of the image which is dark naturally and then improve the saturation in that particular area. For instance, shadows are a great area to add tones of black and deepen it. However, avoid too much usage as you retouch your picture since this could make it to lose upon its artistic appeal.
Use Brush Blending Modes
Apply painting as well as other brush-kind tools by making use of a range of blending modes. These are same as the ones present in the Apply Image, Calculations dialogs, and Layers panel. There are many blend modes available out of which, the ones mentioned below are the most useful when utilized with gradient or brush tools.

The multiply blend mode fundamentally darkens and can be use when you want to darken certain features selectively. The Screen blend mode lightens and can be used as a brush blend mode for lightening areas like eyes or highlight sparkles.
These are just few of the best portrait retouching tips, while there are much more that a professional photographer has to learn. It is essential that a portrait professional should be an expert in such retouching skills and incorporate them wherever necessary to make the best of portraits. But, with some of these resourceful tips, even those who don’t have a lot of experience can actually do wonders!
Author Bio – Austin Field is an expert photographer who has had a passion for photography right from his childhood. He loves to click exquisite pictures of nature and wildlife in particular, and enjoy portrait retouching and following the advanced techniques.