While installing spilt system, people think it’s quite a difficult task to perform without professional hands. It is true, since no one can challenge pros. However, you may find yourself in a situation where you don’t have access to certified installation services. What would you do? This is where you have to do it with a little help, and your assistant may be as good as you.
While split air conditioners come with installation manual and diagrams, you may find instructions difficult to follow. You may be able to secure the outdoor unit without too much help, but indoor unit requires knowledge and experience. You have to ensure proper air conditioning and smooth water drainage off the system. To help you install indoor AC unit, go through these DIY steps, proposed by Distinct Hvac Repair services. They are famous for air conditioning and furnace repair service Calgary.
Steps to install the Indoor Air Conditioning Unit
- Choose the Safest Location
- The indoor unit requires as a minimum 6″ (15 cm) of open house surrounding its sides and top. The unit should also be placed at the minimum 7 feet (2.13 m) off the floor.
- Set up the unit at the least 3.3 ft (1 m) away from connecting lines, power or antenna which might be used for radio, television, safety systems, telephone lines or intercom. Otherwise, the noise from electrical lines can cause operational problems.
- The wall must be sufficiently robust to hold the weight of the unit. You may also have to construct a wooden or steel frame to provide added support.
- Mounting plate must be secured to the interior wall.
- Make sure the mounting plate is properly placed. Use a level to ensure the shape is square.
- To affix the plate, drill holes into the wall and insert plastic anchors.
- Use tapping screws to secure the plate.
- Create a Hole for Piping.
- Here, location is very important. Find the spot where piping must be fixed to the interior unit.
- The furnace maintenance service Calgary recommends that the hole must be 3” (7.5 cm) in diameter and it must be sloped downward for proper drainage.
- Insert a bendy flange through the hole.
- Check your electrical connections.
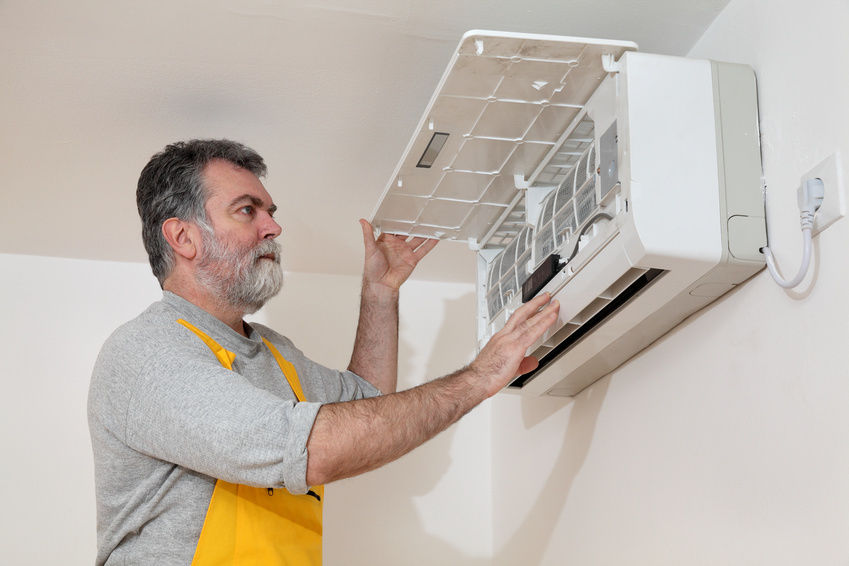
- Raise the front panel of the unit and remove its cover.
- Be certain that the cable wires are connected properly to the screw terminals. Also, ensure that they fit the diagram that comes with the unit.
- Join the pipes.
- The piping must be run through the hole. The bending must be minimized for better performance.
- Cut a PVC pipe ¼ inch (6mm) shorter than the length of the wall.
- Position the pipe cap on the internal end of the PVC pipe. Now, insert the pipe through the hole.
- Bind the copper pipes, the energy cables and the drain pipe using electrical tape. At the bottom, place the drain pipe for smooth water flow.
- Secure the pipe to the indoor unit.
- Now, join the drain pipe with the indoor unit at its base.
- Insert the cables and bound pipes through the hole, and make sure that the drainage pipe lets the water flow properly.